NanoLocz
NanoLocz User Guide
An in progress updated User Guide for NanoLocz v1.20 is here
Contents
1. NanoLocz Install
2. Graphical User Interface
3. Video Guides
4. Opening Files
5. Saving NanoLocz Files
6. Exporting Images, Videos and Data
7. Keyboard Shortcuts
8. Image Leveling
1. NanoLocz Install
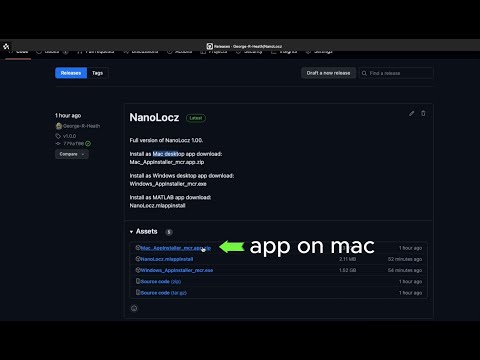
To download the file needed go to Releases
Options for Install:
- To install as Mac desktop app download: Mac_AppInstaller_mcr.app.zip
Unzip and run the exe to install - To install as Windows desktop app download: Windows_AppInstaller_mcr.exe
Unzip and run the exe to install - To install as MATLAB app download: NanoLocz.mlappinstall
Open ‘NanoLocz.mlappinstall’ file. This will open MATLAB if not already open and ask you to install. Once installed the app can be used from the apps tab. For quick access right click the NanoLocz app to add to Favourites and/or Quick Access Toolbar.
MATLAB app requirements: MATLAB 2020a (the newer the better), Curve Fitting Toolbox, Image Processing Toolbox, Signal Processing Toolbox, Statistics and Machine Learning Toolbox, Bioinformatics Toolbox, Computer Vision Toolbox.
Note: loading on start-up of the app can take ~1min for Mac/Windows versions
2. Graphical User Interface
Fig 1: Image loading, leveling, filtering and mask tools:
Fig 2: Image viewing, playback and toolbar options:
3. Video Guides
3.1 Desktop standalone app Installation
3.2 MATLAB app Installation
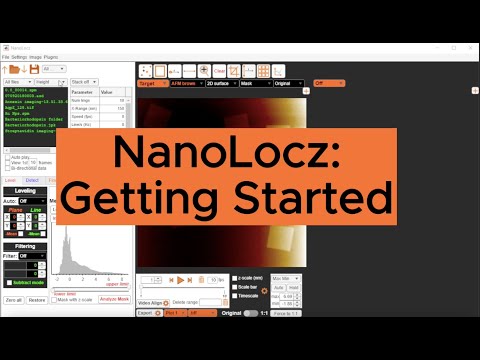
3.3 Getting Started
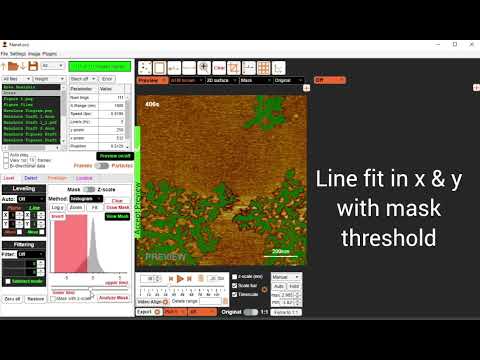
3.4 Leveling + Area Analysis
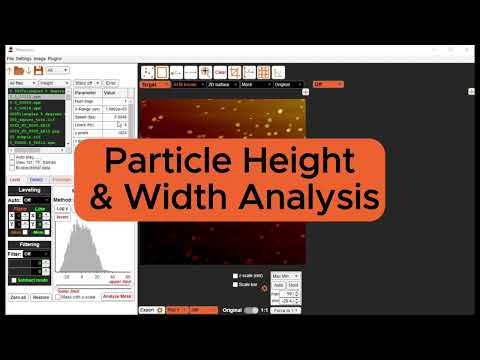
3.5 Height + Width Analysis
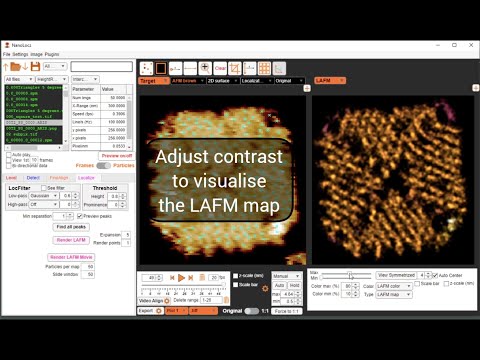
3.6 Intercalating Trace-Retrace + Single particle LAFM
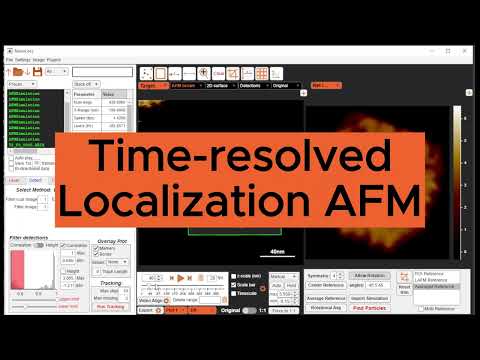
3.7 Time Resolved LAFM
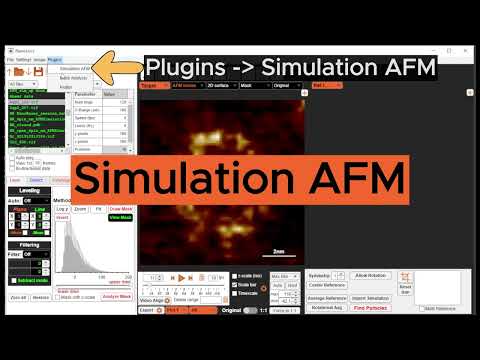
3.8 Simulation AFM
4. Opening Files
4.1 General image opening
- Select a working folder - press the Folder icon
or go to ‘File’ -> ‘Open’ -> ‘Folder’
- To open a file choose from the filenames in the selected working folder ‘File List Box’ displayed in green text.
- Use arrows to quickly move up
or down
folder levels
- If there are multiple channels available to open (eg. Height, Phase ect) these will be displayed as options in the channels dropdown box above the File List Box panel.
4.2 Opening Videos
- Depending on the file structure, videos can be opened by selecting a single file (for .aris and .asd file types) otherwise a video can be assembled by selecting a folder containing the single image files to be assembled into a movie.
- The software can only assemble images into a movie if the images have the same pixel numbers in x and y (eg. a stack of 512 x 512 pixel images), non-conforming images are excluded.
4.3 Supported File Types
| AFM Manufacturer | Format Used | Read Height | Read All Channels | Video Support | Video Format | Author/Source |
|---|---|---|---|---|---|---|
| Bruker™ | .spm | ✓ | ✓ | ✓ | Folder | J. D. Groot |
| .jpk | ✓ | ✓ | ✓ | Folder | R. D. Ortuso | |
| RIBM™ | .asd | ✓ | x | ✓ | Single file | G. Tagiltsev & S. Scheuring |
| Oxford Instruments™ | .aris | ✓ | ✓ | ✓ | Single file | NanoLocz |
| .ibw | ✓ | x | ✓ | Folder | J. Bialek | |
| Nanosurf™ | .nhf | ✓ | ✓ | ✓ | Folder | NanoLocz |
| .gyw | ✓ | ✓ | ✓ | Folder | E. L. Fricke | |
| Park Systems™ | .tiff | ✓ | x | ✓ | Single file | NanoLocz |
4.4 Stacking images/videos
- Different images and movies can be stacked or intercalated if the images have the same pixel numbers in x and y using the dropdown box above the parameter table.
- Stack: Adds the next file or channel selected in series with the current image/video
- Intercalate: Alternates current frames will new frames, useful for assembling trace-retrace into a single movie.
5. Saving NanoLocz Files
The following describes saving options for Session Files or Current File such that the analysis and image processing can be quickly reopened in NanoLocz (or MATLAB since files are saved as .mat files), for exporting images/videos or data files see Section 3. Exporting Images and Videos When saving a session or current file, All analysis, references images, LAFM images and the levelled frames are saved. To save space ‘particle images’ are not saved but assembled upon opening using the x, y, t coordinates saved from the analysis
5.1 Saving/Loading ‘All Processed’ (Session)
- Using the dropdown next to the save floppy disk icon select ‘All Processed’
-
Press save
- Saves all processed images/movies and analysis in the current session into a single file
- Sessions can be reloaded as an option when selecting the ‘Working Folder’ (see 1.1).
Tip: to view which images have been processed use the ‘All files’/’Processed’ dropdown above the File List Box Tip: to remove a file from the processed list, press ‘Restore’ on the Level panel to return it to the raw data.
5.2 Saving/Loading ‘Current File’ (single movie/image)
- Using the dropdown next to the save floppy disk icon select ‘‘Current File’
- Press save
- Saves current processed image/movie and analysis into a single file
- Can be opened as a single image from the file list
6. Exporting Images, Videos and Data
6.1 Image and Video export
Option 1:
- Select ‘Plot 1’ (left image panel) or ‘Plot 2’ (right Image panel) from the dropdown box
- Select the desired format from the dropdown box (.tiff, .csv, .txt, .xls, gif, .avi, .png, .jpeg or .pdf)
- Press the Export button, then select file name and save location.
- Don’t close the image window that pops up until after the file has saved
Note: Exporting as .tiff, .csv, .txt, or .xls enables export without loss of image information whereas export as .gif, .avi, .png, .jpeg or .pdf gives movies/images at presentation or publication quality with automatic scale bars and timestamps.
Option 2 (good for creating publication quality figures or grabbing images quickly):
- Press the Pop Out button
- Resize the image
- Go to the top right hand side of the image and select the far left button from the toolbar
- For making figures choose ‘Copy as vector graphic’ Or for quickly copying an image choose ‘Copy as image’, the image can then be pasted into another program.
- Once pasted vector files can be ungrouped to enable movement and formatting of any labels (eg. scale bars, timestamps…)
- Only works for single images
6.2 Analysis data export
- Open the data Viewer
- With Plot type table selected, choose the table of data required for export
- Select format (.txt, .csv, .xls) and press export
- Alternatively, manually select entries from the table and copy (ctrl+c)
6.3 MATLAB data export (MATLAB app only)
- From the ‘Plot 1’ dropdown select ‘data’
- From the desired format dropdown box select ‘MATLAB Workspace’
- Press the Export button
- Data will appear in the MATLAB workspace
7. Keyboard Shortcuts
May need to click the grey background of NanoLocz GUI for key shortcuts to register (Keyboard shortcuts only work when a button/dropdown or panel are not selected). |Keyboard Key|Result| |:—-|:—-| |Return|Accept current preview| |Right arrow|Move 1 frame forwards| |Left arrow|Move 1 frame back| |Delete|Delete current frame| |Up arrow|Move z-scale view offset up| |Down arrow|Move z-scale view offset down| |Shift + Up arrow|Decrease z-scale range| |Shift + Down arrow|increase z-scale range|
8. Image Leveling
8.1 Manual Leveling
Plane Leveling:
To remove tilt or bow in images:
- Set the x and y Plane values to perform polynomial fitting to all the x and/or y values in each image.
- Plane fitting is previewed in real-time.
- Press the ‘Accept’ button to apply.
- Tip: X and Y values of 1 will remove linear tilt, values of 2 or more can remove image bow.
Line Leveling:
To remove height variations between scan lines:
- Set the x and y Line values to perform polynomial fitting to each image line in x and/or y.
- Line fitting is previewed in real-time.
- Press the ‘Accept’ button to apply.
- Tip: use ‘-Mean’ to remove the median of each line in x.
Line or Plane Leveling with a Mask:
To level images and movies that contain a variety of height levels requires certain regions (referred to as masked regions) to be excluded from the polynomial fits. Typically the included region should be a surface which is expected to be level and has a high coverage (>50%).
The options to generate a mask are:
1) Using the upper and lower threshold values on the height histogram
2) Manually drawing using the Draw Mask button
3) Using the ‘Mask with z-scale’ to mask values outside of the colormap scale
4) Automatically using the Otsu method
5) Automatically using the Fit button (fits a Gaussian to all the values in the movie and using 1.5σ (standard deviation) as the threshold values.)
- To level with a mask, line leveling or plane leveling is then performed as before but fitting is performed using only the non-masked values.
- Press the ‘Accept’ button to apply.
8.2 Automatic Leveling
Leveling typically requires multiple iterations, to achieve this automatically several pre-set leveling routines are implemented in NanoLocz. For example the ‘Iterative Holes’ and ‘Iterative Peaks’ routines which use the following routine:
- Subtract a plane fit in x and y with 2nd order polynomial then subtract the median line in x.
- Fit a Gaussian to all the heights in the movie and set a mask threshold to z > 1.5σ (Iterative Peaks) or z <-1.5σ (Iterative Holes) to generate a mask.
- Repeat leveling step 1. with the threshold mask applied.
- Generate new mask by repeating step 2.
- Subtract a plane fit in x and y with 2nd order polynomial then subtract a 1st order polynomial line in x with the threshold mask applied.\
‘Iterative Holes’ and ‘Iterative Peaks’ automatic leveling routines are designed for image sets with a fraction of lower features such as membrane defects (Iterative Holes) or a fraction of objects with higher features such as features on a mica surface (Iterative Holes). Other iterative leveling routine in NanoLocz include basic leveling followed by Otsu mask leveling or leveling followed by two leveling iterations with Gauissan fitted masks for z outside the range of +/-1.5σ